How to Share a Bluket with Another Teacher: A Step-by-Step Guide
Blooket has become a popular educational platform, offering teachers and students an interactive and engaging way to learn various subjects.
One of the key features of Blooket is the ability to share content with fellow educators, allowing them to collaborate and benefit from each other’s resources.
In this article, we’ll walk you through the process of sharing a Blooket with another teacher, helping you harness the power of collaborative teaching.
Step-by-Step Guide
Sharing a Blooket with another teacher involves a few simple steps. Follow this guide to effortlessly collaborate and share educational content.

Login to Your Blooket Account:
Make sure you’re logged in to your Blooket account. If you’re not already registered, create an account at blooket.com.
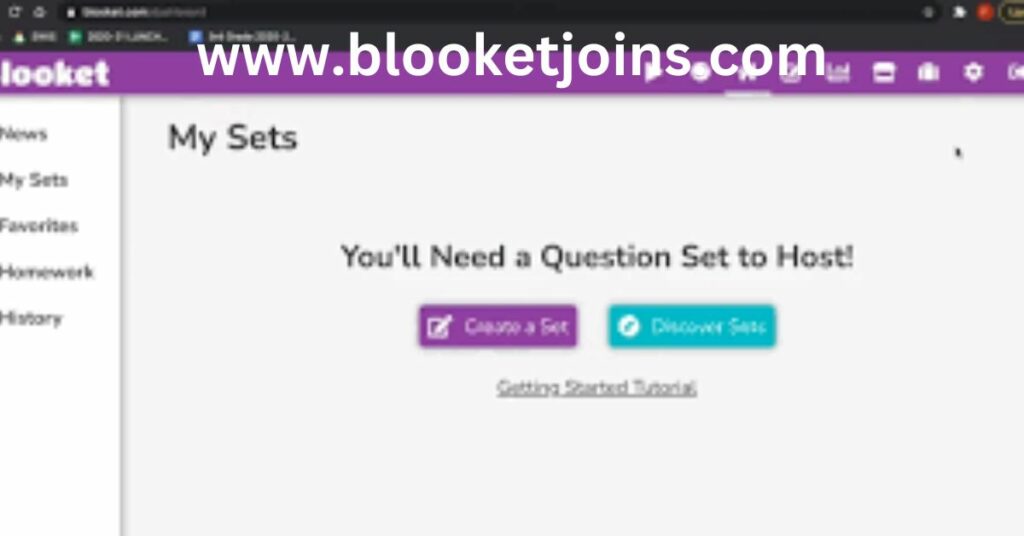
Create or Select a Blooket:
Choose the Blooket you want to share with another teacher. If you don’t have a Blooket created, you can easily create one by clicking on “Create a New Blooket” and adding questions, answers, and settings.
Access the Sharing Options:
After selecting or creating a Blooket, you’ll find various options on the Blooket’s page. Look for the “Share” or “Collaborate” option.
Generate Sharing Link:
Click on the “Share” or “Collaborate” option to generate a sharing link. This link will allow the other teacher to access and use your Blooket.
Copy the Sharing Link:
Once the sharing link is generated, click on it to open it in your web browser. Then, copy the URL from the address bar.
Share the Link with the Other Teacher:
Share the copied link with the teacher you want to collaborate with. You can send it via email, messaging apps, or any other communication platform you prefer.
Accessing the Shared Blooket:
The other teacher can simply open the link you shared. They will be prompted to log in to their Blooket account or create one if they don’t have an account already.
Collaboration and Customization:
Once the other teacher accesses the shared Blooket, they can review, customize, and use the content in their own teaching materials. They can modify questions, adjust settings, and make any necessary changes to align the Blooket with their teaching objectives.
Continuous Collaboration:
Both teachers can now work together to refine and improve the shared Blooket. You can add more questions, create different game modes, or even use the collaborative features within Blooket to work on the content in real time.
Customizing Shared Blooket Content
Once the other teacher has accessed the shared Blooket, they can start customizing the content to suit their classroom needs. They can edit questions, add new ones, or delete any that aren’t relevant.
Blooket provides various question types like multiple choice, true/false, and fill-in-the-blank, allowing for diverse and engaging question formats. Additionally, they can modify game settings such as time limits, point values, and game modes, tailoring the Blooket to their students’ preferences and learning styles.
Using Collaborative Features for Real-time Editing
Blooket offers real-time collaborative features that enable both teachers to work together on the same Blooket simultaneously. This is particularly useful for refining content, brainstorming ideas, and making quick changes.
As one teacher makes edits, the changes are reflected in real time for the other teacher to see. This fosters efficient collaboration and ensures that both educators have a hand in shaping the final version of the Booklet.
Sharing Insights and Feedback
Collaboration isn’t just about content creation; it’s also about sharing insights and feedback. After both teachers have worked on the Blooket, they can discuss their experiences, successes, and challenges. This feedback loop can lead to valuable improvements and enhancements.
Perhaps one teacher found a particular question format more engaging for students, while the other teacher discovered a more effective way to structure the game progression. Sharing these insights can lead to a more refined and impactful learning tool.
Exploring Integration in Lesson Plans
Once the shared Blooket is finalized, both teachers can explore ways to integrate it into their lesson plans. They can align the Blooket with specific learning objectives, topics, or units of study.
For example, if they’re collaborating on a history Blooket, they can integrate it into a lesson about a specific era or event. This integration ensures that the shared content is seamlessly woven into the curriculum, enhancing the overall learning experience for students.
Conclusion
Sharing a Blooket with another teacher opens up a world of collaborative possibilities, enhancing the educational experience for both educators and students.
By following this step-by-step guide, you can easily share your Blooket content with fellow teachers, fostering a culture of collaboration and resource-sharing in the educational community. So, go ahead and leverage the power of Blooket to make teaching and learning a truly engaging and collaborative adventure.